
You might be curious about how texture can be added to your woodturning projects if you are a beginner. Ernie Conover will show you how it's done. Textures are natural patterns that adorn objects in different ways. Adding them to your turning projects will add personality and style. There are many textures you can add to your project, whether it's a salt and pepper shaker or a bottle stopper.
Making a rolling Pin
Perhaps you have been interested in woodturning and wondered how to make your own rolling pin. Wood rolling pins tend to be long and made from quality wood. Depending on the length of the pin, you can use any kind of hardwood, but the best wood for a rolling pin is hard maple, cherry, apple wood, ash, or a similar hard wood. There are also cheaper versions that can be made out of soft maple and/or birch. But it is crucial to select the right type of wood for the task.
First measure the handle's diameter. Next, measure the diameter your rolling pin. You can measure the diameter with the Parting Tool. The Roughing Gouge is used to trim the handle down to the desired length. After measuring the diameter of the pin, use the Bowl Gouge in order to make its curves. This will allow to you to thread the pin. Once your rolling-pin is complete, apply a foodsafe finish and let it dry on a tray for 15 minutes.
Make a salt-and pepper shaker
There are many options for making these useful utensils, whether you're looking to give a gift that's unique or to keep in your home. For example, a mason container can be used to make a salt-and-pepper shaking vessel. Use a small nail or hammer to lightly poke holes in the letters. Leave 5/8-inch of wood on the ends and place a cork in the holes. Fill the shaker with salt and pepper and enjoy your creation.
If you have Coca-Cola bottle collections lying around, these bottles could be used to make salt-and-pepper shakers. To make the lines of the bottle clearer, you can either use tape or paint it with metallic leaf paint for a simple detail. You can also use any other colour of all surface paint.
Make a bottle-stopper
A bottle stopper can be made in a few simple steps. First, you must mount the blank between two centers. This will produce a collet which can be used to mount the chuck. Then, you will turn a piece to produce the desired shape. Then, you'll turn a threaded piece to attach the decorative turned portion to the bottle. You can use different sizes threaded supports.
Before you start the process, make sure to choose the correct kind of wood. Blanks are available at craft stores. Although the blanks are already squared, if the blanks are cut by you, make sure they are perfectly square. The wood you purchase from a shop may need to be squared up. Otherwise, use a chop saw or tablesaw instead. To square up odd-shaped pieces, you can use a clamp. To make it smooth and even, use a fine-grit paper to sand the stopper.
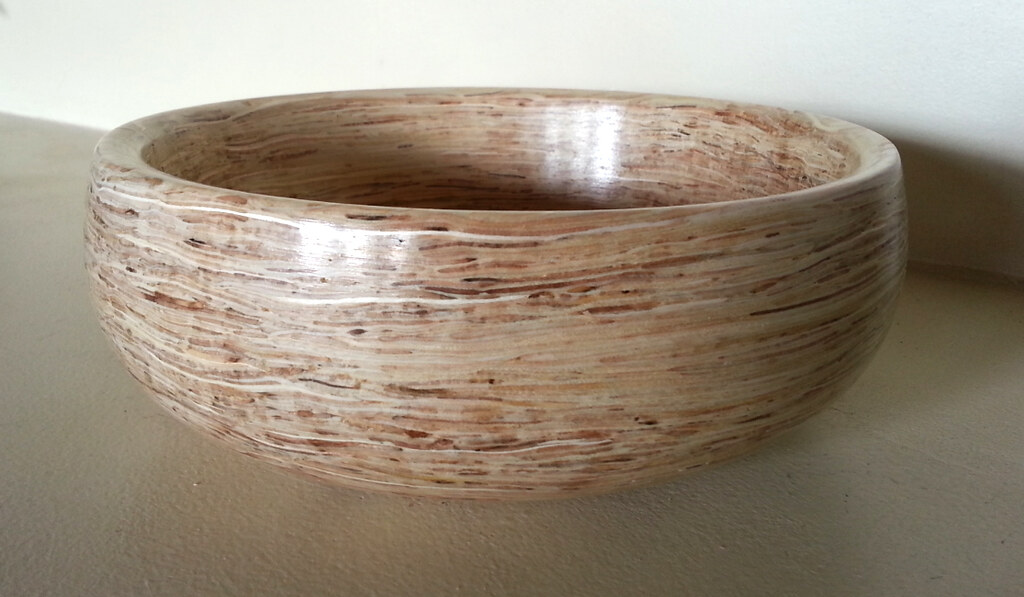
A stacked ring bowl
When you make a stacked ring bowl for woodworking, you can create a large bowl by cutting two or more flat boards into concentric rings. The rings are usually glued together using a butt joint. However, a sliding dovetail joint is an option. The boards should have a width of approximately five inches and a thickness of one inch. The faces of each board have been joined, and the joining edge has been planed.
You can easily cut a segmented round bowl with a jig and trammel. The board's thickness will affect the spacing and number of layers required to reach the desired height. One inch should be the thickness of the board, and not less than 5/8" or 3/4". You can also use a circle-drawing jig or trammel to mark the band saw lines.
FAQ
Is it easy to start a woodworking business?
It's not easy to start your own woodworking business. There are many regulations and legal requirements that you will need to comply with. It doesn't mean that you have to go through the entire process of starting a business. Many people prefer to join existing companies. This will allow you to avoid paying membership fees and taxes.
How can my shop be organized?
Setting aside an area to store tools is the first step in keeping your workshop organized. Make sure your tools are clean and free of debris and dust so they can be used properly. Pegboard hooks can be used to hang tools and accessories.
Where can I purchase woodworking supplies
You can find everything you need in many places. You could go to your local hardware shop or visit websites such as Amazon.com.
For furniture and other materials that you can reuse, check out flea markets and garage sales.
How often should I purchase new supplies?
You'll probably have to replace some of your tools over time. If you are using hand tools, you will need to sharpen them frequently. You'll also need to replace parts if you use power tools. To avoid buying too much at once, try to spread your purchases out over a few months.
What is the difference between a hobbyist woodworker and a professional woodworker.
Hobbyists love making things from wood while professionals are more concerned with the quality of their work. Hobbyists take great pride in their creations, and share them with family and friends. Professionals will spend hours researching designs before they begin working on a project. They will pay attention to every detail, from selecting the best materials to finishing the project perfectly.
Statistics
- The U.S. Bureau of Labor Statistics (BLS) estimates that the number of jobs for woodworkers will decline by 4% between 2019 and 2029. (indeed.com)
- Overall employment of woodworkers is projected to grow 8 percent from 2020 to 2030, about as fast as the average for all occupations. (bls.gov)
- The best-paid 10 percent make $76,000, while the lowest-paid 10 percent make $34,000. (zippia.com)
- Most woodworkers agree that lumber moisture needs to be under 10% for building furniture. (woodandshop.com)
External Links
How To
How to join hardwood without using nails
Woodworking is a hobby that many people enjoy doing. It is relaxing and enjoyable because you can create something useful with wood. You may need to join two pieces without the use of nails. This article will explain how to do this so that your woodwork projects stay beautiful.
First, remove any sharp edges from the wood pieces before you join them. Avoid leaving sharp edges that could lead to problems later. After you have completed this step, you are ready to glue your boards together.
You should only glue one side of hardwood. You should glue both sides if you are working with softwoods such as pine and cedar. Press the boards down until the glue is fully incorporated. Be sure to let the glue dry before you move on to the next step.
After you've glued your boards, you'll want to drill holes into the joints where you plan to insert screws. Depending on the type of screw that you use, the size of these holes will vary. If you plan to use a 1/2 inch wood screw, drill a hole at least 3/4 inches in depth.
After drilling the holes, you can drive the screws into your board's backside. You should be careful not to touch the board's front surface. This could cause damage. Don't drive the screws too far into the end. This will avoid splitting in the wood's ends grain.
You'll need to protect your completed project from the elements. You can seal the furniture pieces or cover the top. Either way, you'll want to use a product that will last for years to come. Oil-based varnishes are, among others, polyurethanes shellac, laquer, and other oil-based products.
These products can be found in most home improvement shops. Just make sure that you buy the right kind for the job. Some finishes are toxic and should not ever be used indoors. Always wear protective gear when handling any of these finishes.