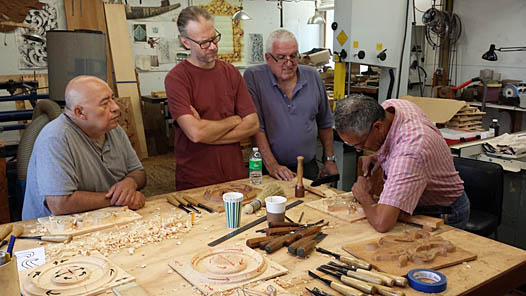
Using a template will help you position your patterns on the wood. It also gives you references to work from while drawing on the wood. It is also useful to create repeat pieces. You can save it for future projects. First, prepare your template. Find out how to create it. Here are some helpful tips for creating a template to use for wood carving. You can then start carving your designs on the wood.
Woodcarving for beginners
A chess pawn for beginners is a great beginner woodcarving project. This is because the pawn's rounded edges require more precision in shaping the head. Continue working on your pawn until you get the desired shape. This is particularly important for beginners, as you will need 16 identical pieces. This will teach you how to carve curves and balance your work.
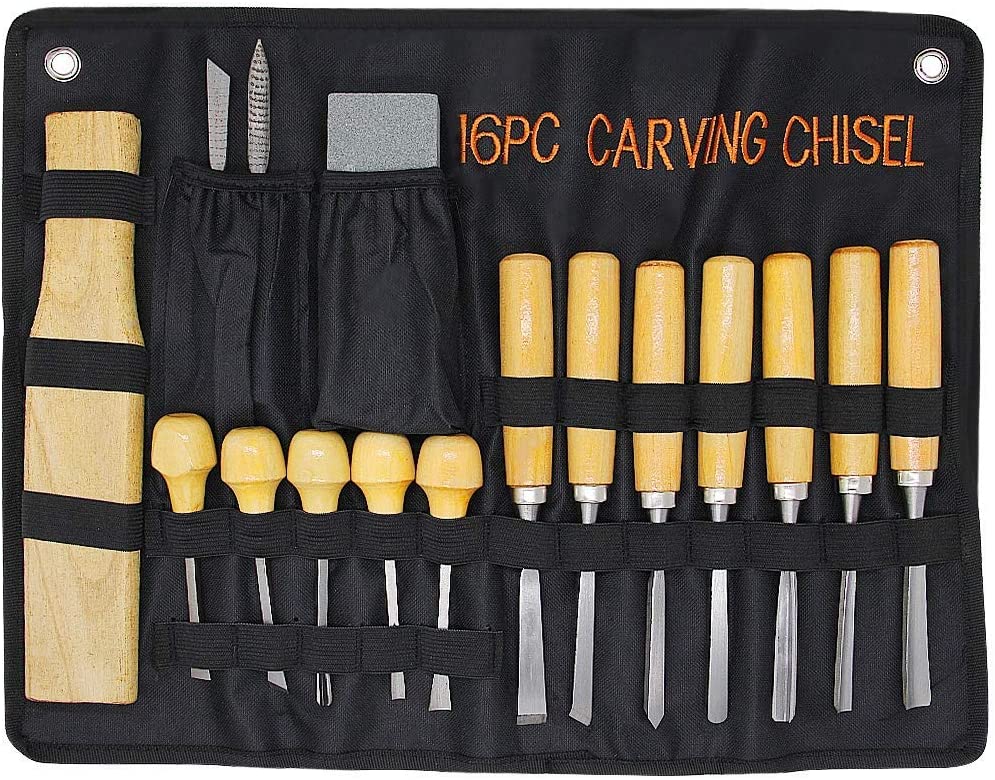
Different wood types require different techniques, depending on the skills you have and the materials available. Some woods require more advanced tools, while others are simpler to carve. It is crucial to choose the right tools for the job. A dull tool will make the job more difficult and can cause damage to the wood. Balsa or Birch are good choices for beginners.
3d wood carving pattern
3D wood carving patterns are a great choice for beginners. You can even carve full size bird figures using this type of pattern. If you're a beginner, it is best to start with a larger piece of wood. 3D designs will require you to switch knives more often. Bears are also popular subjects to carve, as you can carve either a cartoon bear or a realistic one.
Because it is round and burly, a bear is easy to carve. You can start carving this animal by creating a 360-degree model and finding a reference photo that shows the main shapes. After mastering this skill, you can use a CNC machine or sculpt the bear yourself. Either way, you can be creative with this pattern. It's a great way learn to carve and create an art piece that will last many years.
Dongyang Wood Carving
Dongyang woodcarving, an ancient Chinese art form, has developed into a new category. This art form has been around since the Tang Dynasty when it first appeared in Taihe year. Dongyang is often referenced in carving Dongyang wooden. This type is detailed as the name implies. This makes them more expensive than other wood carvings.
Dongyang wood carvings are great for decorating any type of wooden surface. These works can be displayed both in homes and public places. One popular example is the "The Legend of the White Snake" piece. This story tells of an immortal snake falling in love with young women. He was kept under the Leifeng Pagoda and was eventually released when the pagoda collapsed.
Whittling flower
A whittling floral project may be the right choice for you if you are a beginner woodcarver. This beautiful flower can be carved in many ways, each one equally rewarding. Draw the petals to get an idea for the shape and proportions. Next, transfer the design to the wood chunk. This will help you visualize the finished shape, remove unnecessary parts of the wood, and make the carving easier to work with.
Specialized tools are required to carve flowers. A gouge helps to cut the petals as well as the background of the flowers. You can also use the gouge to cut the stems simultaneously and redraw them as needed. For intricate details on flowers, you can use a Dremel instrument. The blade of the carving tool can also be changed to achieve a variety of shapes, and different accessories.
Wooden ARO
Aro's wooden ARO drawings make a great way to collect his works. These artists were keen to preserve traditions and create works from old items. Aro, for example, transformed a broken tabletop into a wooden relief called Leipaenkeli in 1975. This means "bread angel" in Finnish. Despite its simplicity, the piece conveys many traditional values. To learn more about this artist, check out his biography.
STEAM-based multidisciplinary production helps students create a unique artwork for public display. Often, students work with a predetermined regional or international artist, or choose a project that highlights the talents and passions of one student. The students also work with a mentor who has been successful in their chosen career field and focuses on his or her own journey. The program is targeted at students with low incomes and often involves a variety of community involvement. This includes both local and global arts communities.
Wooden Cragg
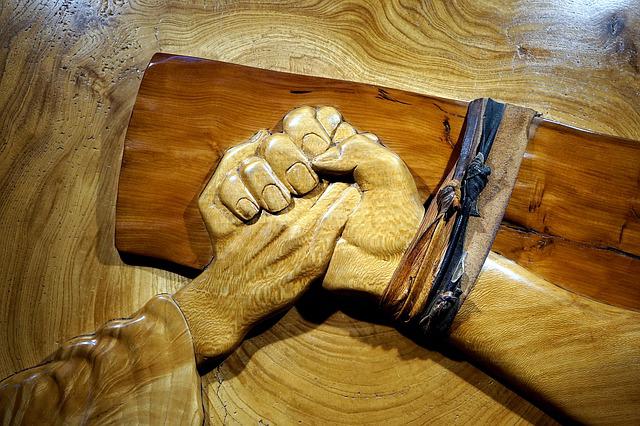
Woodcarvers from all walks of life use this skill to create incredible pieces of art. Another popular style is "Pierced Relief," which involves carving entire pieces of wood from one block. Another artist uses this method to create abstract pieces which are less abstract but still retain the details of their original pieces. Remy Clemente, Morgan Maccari and Morgan Maccari both from France depict a series made of wood frames that have been melted into a metallic frame.
For beginners to woodcarving, it is possible to start with simple geometric patterns. You can then develop the skills necessary to carve more complicated designs. To get a feel for the technique, consider printing out drawings of your desired designs. For practicing, wooden carving drawings are a good way to get started. Follow all guidelines and instructions carefully. You can achieve the desired results by using wood carving drawings. There are many designs available, including animals, fruits and flowers.
FAQ
You can learn how to woodwork.
Doing is the best way to learn any subject. Woodworking is an intricate art form that requires practice, skill, patience, and experience. Mastering any craft takes time.
The best way to learn how to do something is actually to do it. Start small and then build upon what you've learned.
How can I keep my shop organised?
A designated place to store your tools is the first step towards keeping your workshop clean. You want your tools to stay clean and free from debris and dust. You can hang tools and accessories with pegboard hooks.
How much do hobbyists need to invest in starting a business?
If you're looking to start your own woodworking business, you'll probably need some capital to buy the necessary tools and supplies. You can start by purchasing a small table saw and drill press as well as a circular saw, circular saw, jigsaw and sanding machines. These items aren’t too expensive so you won’t have to break the bank.
How can I learn basic skills in woodworking?
The best way to learn how furniture construction is to make your own bench. This project can easily be done using whatever wood you have at your house. You don't need to know which type of wood you should use. Instead, get some pine boards at Lowes or Home Depot. After you've built your bench, you'll want to sand off all the rough edges and finish it with a stain or varnish.
Statistics
- Overall employment of woodworkers is projected to grow 8 percent from 2020 to 2030, about as fast as the average for all occupations. (bls.gov)
- Woodworkers on the lower end of that spectrum, the bottom 10% to be exact, make roughly $24,000 a year, while the top 10% makes $108,000. (zippia.com)
- In 2014, there were just over 237,000 jobs for all woodworkers, with other wood product manufacturing employing 23 percent; wood kitchen cabinets and countertop manufacturing employing 21 percent. (theartcareerproject.com)
- Most woodworkers agree that lumber moisture needs to be under 10% for building furniture. (woodandshop.com)
External Links
How To
How to make wooden joints
This tutorial will teach you how to join two pieces wood together. The "pocket hole joint" is a method whereby we drill holes into the wood and glue them together. This method works great if your wood is straight and smooth. Try dowel joinery instead if your wood doesn't look straight. Here are the steps
-
Drill Pocket Hole Joints. Start by measuring and marking the spot where the pocket hole joint will be placed. You will then drill 3/4" deep holes through each piece of wood with a jigsaw, handheld drilling machine, or hand-held drill.
-
Sand Smooth. The wood's edges can be sanded to prevent splitting.
-
Glue Together. Apply glue to both ends of the wood. Allow it to cool for at least 5 minutes before you attach the pieces.
-
Fix the Pieces together. After the glue has dried properly, clamp the pieces together to make sure they are flush.
-
Trim Joinery. Trim any excess wood surrounding the joint once the glue has dried completely.
To be able to turn the pieces inside-out, leave enough room between them.