A pen is a handy tool for drawing and writing, but what are its components? We will be covering the different parts of a pen in this article, including its Ink Chamber, Thrust device and Corner and smooth point. These components will help you to use your pen efficiently and effectively once you are familiar with them. This article provides tips on how your tool can be maintained and repaired. It's a good idea if you have a reference that you can refer to when creating or fixing a pen.
Ink chamber
How much ink should you have in your tools pen's ink cartridge? The ink should not contain any particles and be thick. The ink should be dry enough for paper transfer. The entire process shouldn't take more than 2 minutes. This is the goal of the entire process. Here are some tips for pen manufacturing. Learn how to make a pen of high quality. We've put together a guide for you to help you design the perfect pen!
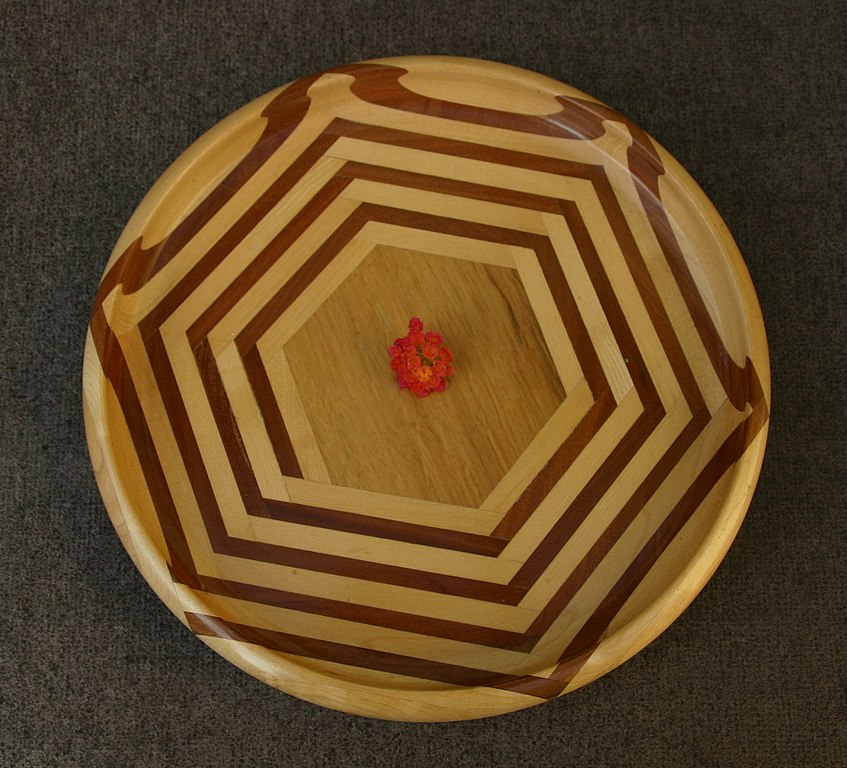
To make the pen body, an external company supplies the balls made of tungsten carbide and the ejector pusher. Other components are made using different molds. Brass is used to make the pen body as well as the point. The brass disks are warmed to soften them. The brass disks are then placed into a compression chamber, and then shaped. With the aid of a steel drum, the metal disc is then forced through a mold. Then, the ejector plunger pushes out the excess brass.
Thrust device
The Thrust device can be used to create and modify vector data. The device supports two types of data: vector and pointer. You can use vector data for many purposes including plotting and calculating graphs. You can store vector data in the host memory or on the device memory. The device can also perform data transformations and other operations.
The thrust device, which is made of plastic, measures approximately 2cm in length. The thrust tube holds ink chamber. Once released, the thrust tube releases the ink chamber. It has a metal clip which allows it to attach to thin objects. The pen's various mechanisms can be held by the casing that measures 12cm. It also provides a firm grip for the user. It allows the user to hold it without it falling out of their hands.
Corner and smooth points
There are two types of anchor points in Photoshop: corner and smooth. Smooth anchor points create curves. Corner and smooth anchor points create snaky or sinuous transitions. The pen tool creates both types of points. You can switch between the two by pressing the arrow keys or holding down the Command key in MacOS. Once you've selected an anchor point, it is possible to adjust its properties.
Curved-corner anchor points, also known as cusp points, are the intersection of two lines segments. This might be referred to as a double fishhook upside down. It can be used to create lowercase letters, such as ms or Valentine hearts, as well other shaped letters. A combination-corner anchor points can be used to create rounded corner rectangles. It is easier to use the curved-corner Anchor Point than the straight-corner Anchor Point.
Anchor points
You must have an anchor to help you create straight lines using a pencil or other tool. This is what the pen tool knows, and it will recognize when you are looking for a straight line. By connecting two anchors points, you can create curves with sharp edges or sides. You can connect these points by holding shift and clicking. When you click, hold shift and you will be able set anchor points at right angles. This will make drawing straight edges easier.
After you've selected an anchor point, you can click and drag it to make a path. You can either delete or move the anchor points to another location. The Pen tool can also be used to add anchor points and modify paths. You can use the Pen tool to add curve and corner points. Additionally, you can also use Direct Selection to select multiple objects. The Illustrator environment has a lot of powerful tools, including anchor points. They are extremely helpful for creating sharp and precise lines and curves.
Widget for pen elements

Widget for tools pen element provides access to a variety of functions and options. Teachers can add captions, change the text size and add images. The tool also allows teachers to drag a text box on a canvas to change its size. It can also be customized by adjusting the colour options. The Widget has two types of tools: the text tool, and the image uploader. The text tool can be used to input text on a canvas while the image uploader lets teachers add a picture to their lesson. Images can be moved and scaled to enhance the depth of the lesson.
The Pen tool can take different forms depending upon the task. The cursor indicates the action that is about to occur. You can switch the tool to limit movements to 45 degrees or 90 degrees, 135 degree, 180 degrees, and 135 degree respectively. Direct Selection Tool, however, removes adjacent path segments. You can switch to Convert Anchor Point Tool by using the Pen Tool option.
FAQ
How much will it cost to get started?
Because every project is unique, there aren't exact numbers. Here are some factors to help you estimate how much money you will need.
-
Material cost
-
Tools and equipment
-
Time spent on the project
-
Your hourly rate
-
What profit are you expecting to earn?
-
It doesn't matter if your goal is to hire help
If you're just starting out, you may decide to start small by making simple items such as boxes and picture frames. You'll become more proficient as you get experience.
What are the basics of woodworking?
The best way to learn how furniture construction is to make your own bench. This project can easily be done using whatever wood you have at your house. If you're not sure which kind of wood to choose, you can purchase cheap pine boards at Lowes and Home Depot. After you've built your bench, you'll want to sand off all the rough edges and finish it with a stain or varnish.
How can a novice woodworker make it big?
Many people are starting to learn how to build furniture because they want to start an online business. If you are just starting to build furniture, there are many other ways to make money than selling on Etsy. You can sell at local craft fairs. For those who want to build their own furniture, you might offer workshops. You might be able to offer services like remodeling homes or making custom pieces for clients if you are a skilled carpenter.
Statistics
- Woodworkers on the lower end of that spectrum, the bottom 10% to be exact, make roughly $24,000 a year, while the top 10% makes $108,000. (zippia.com)
- The best-paid 10 percent make $76,000, while the lowest-paid 10 percent make $34,000. (zippia.com)
- If your lumber isn't as dry as you would like when you purchase it (over 22% in Glen Huey's opinion…probably over 10-15% in my opinion), then it's a good idea to let it acclimate to your workshop for a couple of weeks. (woodandshop.com)
- The U.S. Bureau of Labor Statistics (BLS) estimates that the number of jobs for woodworkers will decline by 4% between 2019 and 2029. (indeed.com)
External Links
How To
How to properly use your handsaw
Hand saws are used to cut the wood into pieces. These saws are most commonly used to cut wood into pieces. A handsaw is a tool made out of metal or plastic that cuts material such wood, plastics, metals etc.
The best thing about a handsaw is the ability to make precise cuts at all angles and without needing adjustment. They are also easy to sharpen, unlike power tools. However, there are some disadvantages as well. They are also heavy and bulky so be careful when moving them. Additionally, if they are unfamiliar, it is possible to injure oneself.
There are many ways to hold a handheld saw. While cutting, keep your fingers away from the blades. If you don't, you might get hurt. While holding the saw, make sure you place your fingers around its handle. Keep your thumb close to the blade. You won't accidentally touch it.
It is important to not put anything under the piece you are cutting when using a handheld saw. This could cause the blade to slip from the wood's surface. Before you start cutting, ensure that you inspect the area. Make sure no nails or screws are hidden beneath the wood.
While working with a saw, you should always use safety goggles. They protect your eyes from dust, which makes it easier to see what is happening. Safety glasses can also be useful as they protect your skin from flying debris.
First, learn how to safely use a hand saw. You can then practice until you are confident enough to cut things. Once you've mastered the basics, you'll find that you can easily cut almost anything!