If you've always wanted to carve your own eyes, there's no better way to get started than by following along with a photo trail. It can be a great way to emulate a famous carving without spending hours researching different styles. After all, you want your eyes to be as realistic as possible, and you'll likely have a lot of fun doing it. You don't have to be a carver to make a career of it. There are many methods to create realistic-looking eyes.
Lesson 4 - Carving hair
This tutorial will teach you how to create beautiful flowing hair for your animal carving. It will allow you to create a lifelike appearance and create an illusion of emotion. It will also show you how to create various textures. You can also learn how to use different curved tools to create the different levels of cut hair. Once you have the basic techniques down, you can move onto more complicated parts of the face, such as the eyeballs and nose.
Begin by drawing a line around the eye sockets with a pencil. Next, trace a straight line that extends from the eyebrows and eyelids. To make the forehead more round and higher, you could also use a pencil. Use a whittling knife to trim the corners of your cheeks, bottom lip, and beard.
Lesson 5 Carving the feet for the crow
Crow's feet are something you need to know if you have them. These wrinkles are the result of repeated facial expressions, such as squinting. Crow's feet is a result of repeated facial expressions such as squinting. If this is you, then you need to wear reading glasses. To prevent crow's foot, you can also use facial moisturizers.
People who have fine lines and wrinkles around the eyes make them appear older than they are. Thankfully, you can easily remove these lines to reveal a younger-looking complexion. Here are some helpful tips.
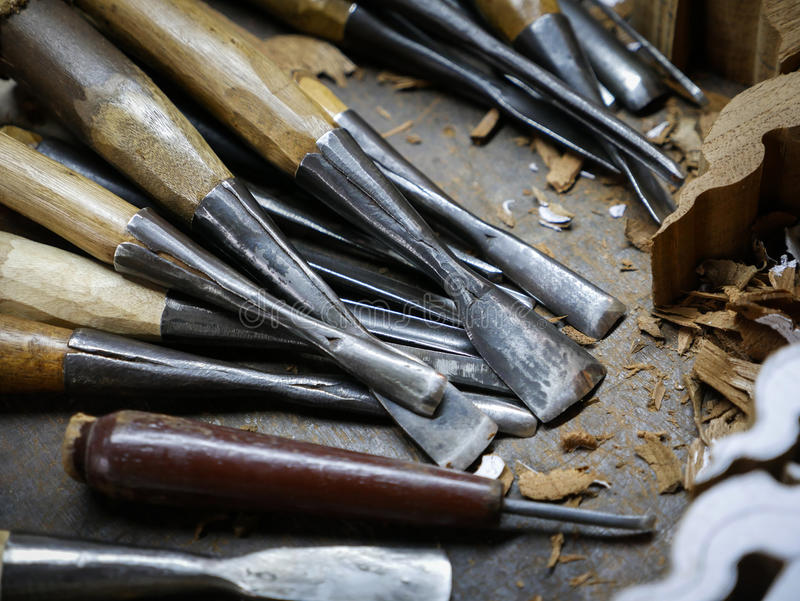
Lesson 6: Carving iris

Children can see the iris, ocellus and other parts of their bodies in a mirror. This will help them to understand how they feel and look. They can also use observational drawing and a mirror to draw their own eyes. They can look for white or different shades of one colour in the iris and the black in the centre. They can then add colour to the drawing using different media, trying to create the illusion that there is depth. The children can then compare the colour differences between their drawings of eyes.
FAQ
Where do you start when it comes to woodworking?
It is best to actually build furniture to learn how to make it. You will need tools. There are bound to be mistakes. But if your persistence is consistent, you will soon master the craft.
Start by choosing a project you'd like to complete. You could make something as simple or complex as a box. Or you could build a whole entertainment center. Once you have chosen a project, locate a local woodworker who is skilled in this kind of work. Ask him or her for advice on what tools you'll need and where to find them. You might even ask whether there's someone else you can talk to who does this kind of work.
How can my shop be organized?
A designated place to store your tools is the first step towards keeping your workshop clean. Keep your tools away from dust and debris, so they stay sharp and ready to work. To hang accessories and tools, use pegboard hooks.
Which wooden products are most popular?
The best-selling wooden items are those which have been made from wood that was harvested sustainably.
Most furniture is made from oak, maple, mahogany or walnut.
These woods are strong and durable, with beautiful grain patterns. They can also last for years if they are properly cared for.
Wooden furniture should always be painted first to protect against moisture damage. This applies to all surfaces, even drawers and doors.
If you want to make sure that your furniture lasts as long as possible, then you should choose a paint that is resistant to water.
A high-quality oil-based primer should be used, followed by two coats with top coat. Depending on how much wear you expect, you might need to apply more coats of topcoat.
You should avoid using aerosol paints or spray cans. These products contain solvents that evaporate quickly and leave behind harmful fumes.
Are there any other things I should know regarding woodworking?
It is easy to underestimate how much work it takes to make furniture. Finding the right kind of wood is the most difficult part. There are so many varieties of wood available that choosing one can be difficult.
Another issue is that wood does not have the same properties. Some woods will warp and others will split or crack. You must take these things into consideration before purchasing wood.
Do you have any suggestions for starting a woodworking shop?
It takes a lot of effort to start a woodworking business. If you are passionate about your hobby, it will not be difficult to put in the work. Plus, you'll probably enjoy the challenge of running your own business.
It is important to remember that unexpected problems may arise when you start a new venture. You might run out money, or you may have to borrow unexpectedly. Or maybe you'll find that customers aren't willing to pay as much as you'd hoped. Preparedness is key to survival in such situations.
One good tip is to set up a separate bank account specifically for your business. You'll be able to track how much money comes in and out.
Statistics
- In 2014, there were just over 237,000 jobs for all woodworkers, with other wood product manufacturing employing 23 percent; wood kitchen cabinets and countertop manufacturing employing 21 percent. (theartcareerproject.com)
- Most woodworkers agree that lumber moisture needs to be under 10% for building furniture. (woodandshop.com)
- If your lumber isn't as dry as you would like when you purchase it (over 22% in Glen Huey's opinion…probably over 10-15% in my opinion), then it's a good idea to let it acclimate to your workshop for a couple of weeks. (woodandshop.com)
- Overall employment of woodworkers is projected to grow 8 percent from 2020 to 2030, about as fast as the average for all occupations. (bls.gov)
External Links
How To
How to join two pieces of wood together without nails
Woodworking is a hobby that many people enjoy doing. You can make useful items from wood with your hands, which is both relaxing and fun. There are times when two pieces of wood need to be joined together. This article will show you how to do it to make your woodwork projects look great.
The first thing you'll need to do is cut off any rough edges from your pieces of wood before joining them together. You don't want to leave sharp corners that could cause problems later on down the road. Once you've done this, you're ready to start gluing your boards together.
When working with hardwood, glue should be applied only to one side. For softwoods like cedar and pine, glue should be applied to both sides. Press the boards down until the glue is fully incorporated. After applying the glue, let dry the boards before proceeding to the next stage.
After you've glued your boards, you'll want to drill holes into the joints where you plan to insert screws. The size of these holes depends on what type of screw you choose to use. If you are going to use a half-inch wood screw, you will need to drill at least 3/4 inch deep.
Once you have drilled the holes, the next step is to drive your screws through the joint into the board's backside. Don't hit the board's surface. You could damage the finish. Try to not hit the ends of the screws when driving the screws. This will avoid splitting in the wood's ends grain.
Protect your finished project now. To do this, you can seal the entire furniture piece or just cover the top. It doesn't matter what method you use, you want something that will last many years. Examples include oil-based varnishes and polyurethanes, shellac, lacquer and others.
These products are available at most home improvement stores. Make sure you get the right product for your job. Also, remember that some finishes are toxic and should never be used indoors. Protective gear should always be worn when handling these finishes.