John Jordan's tools can provide quality tools for any shop. The company was founded as Victoria Tool Corporation in 1953. Based in Warren, Michigan, the company manufactures a variety of die and weld gun component products. Its product lines include shims, deflectors, electrodes, mount blocks, and more. These items are great for professionals and shops alike.
John Jordan
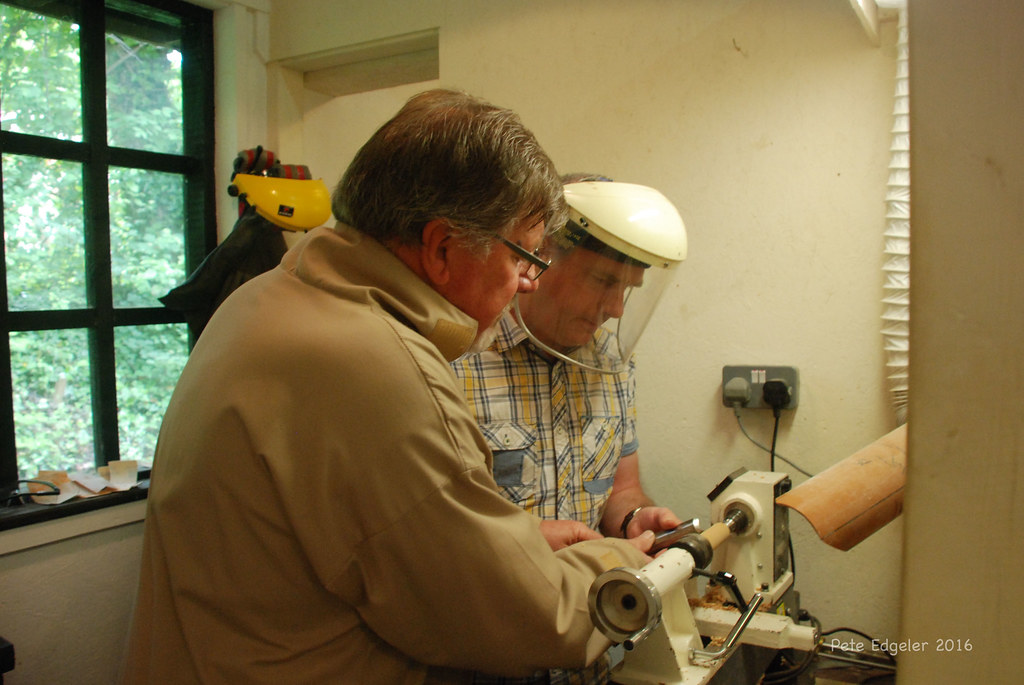
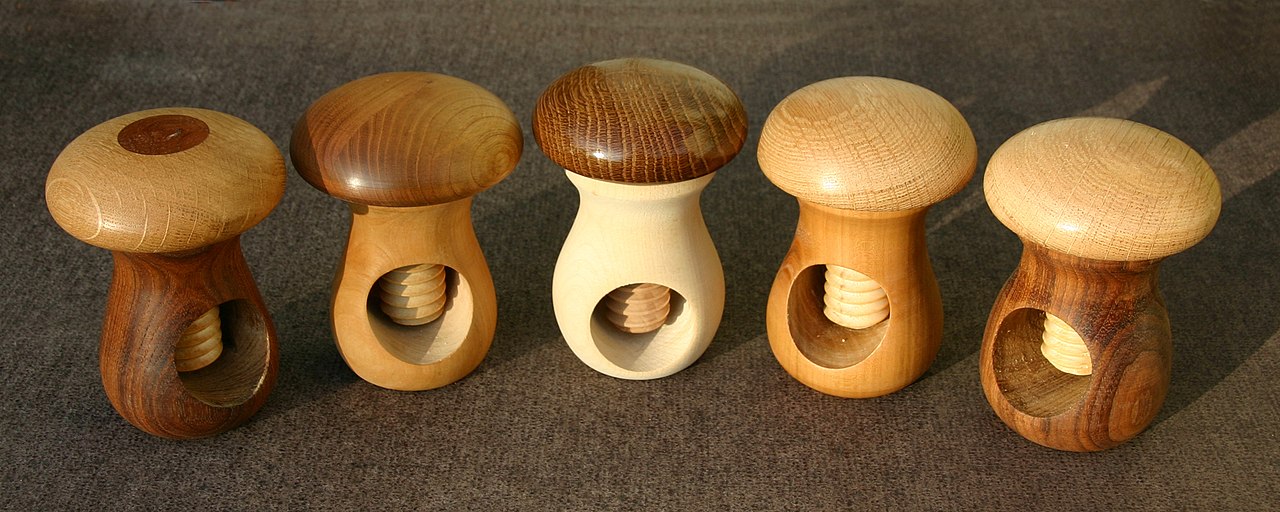
John Jordan is a world-recognized woodturner, instructor, maker and designer of fine John Jordan tools. He is also known for his unique techniques and well-crafted tools. He has perfected his tools over many years thanks to his extensive experience. His talent for texturing and creative detail is legendary. The Smithsonian Renwick Gallery showcases some of Jordan's fine pieces. John Jordan discusses his essential tools for crafting fine-tuned wooden turning objects.
John Jordan can turn with a variety tools including chisels, gouges, and rasps. With a fine ceramic slipstone, a gouge and small burr, he makes the final cut. This is a way to create a smooth finish without texturing. This was done using a long edge on the gouge and a special tool. It features a short handle, an angled straight edge that can be reversibly angled, and a slight burr.
John Jordan Turning Tools
If you're a woodturner, you've probably heard of the innovative John Jordan Turning Tools. Tennessee's master woodturner John Jordan has created hollow vessels for almost every major turning show in the last two decades. He has been awarded numerous recognitions and awards for his work. His products are featured in the permanent collections of numerous corporations and museums, including the Victoria and Albert Museum in London. Here are some of his top tools:

John opens his presentation with a basic introduction to wood. He then discusses the properties of wood as well as how to plan your turnings. He also provides examples of greenwoodwork and explains how you can avoid checking your finished pieces. Ultimately, you'll learn how to use the John Jordan Turning Tools to make beautiful turned pieces that stand out in a crowd. You have come to the right place if you are a dreamer of becoming a master turner.
Straight Tools
The Straight Jordan Tools are a set of specialized handpieces that hold small and large tools. They measure 1-1/4" in diameter and can be ordered in sizes of 12, 18, and 24 inches. They are made of steel with a foam grip. Straight Handles can hold tools up to 1/2" or 3/4" in diameter. For smaller tools, a 3/8" adaptor can also be purchased. These handpieces are also designed to resist rust.
John Jordan designed hollowing tools that are an integral part of furniture-making. These tools have been around for over two decades. They are available in two main varieties: Straight and Hook Tools. These tools are designed to reach both the side and the shoulder of the turning. They are held in place with a set screw, and the cutter is removable for sharpening with a special jig. There's a Straight Jordan tool for you, whether you want to create a fine-tuned neck or a sharp-edged circle.
Precision Screws
Success in screw turning requires precision. The precision screws can be purchased in both long and short lengths. They also come in a wide range of sizes. Jordan Tools makes high-quality precision screws, including the patented X-Rite screw threading system. Moreover, they offer a variety of specialized tools, such as the Y-Rite threaded studs. Jordan Tools is available to help you insert and remove screws, no matter if you are a homeowner or professional.
Located in Warren, Michigan, Jordan Tools is a multigenerational family business that supplies the automobile and aircraft industries. The company started out manufacturing components for cars, but it expanded into the aerospace industry in 1963. The company supplies Tier One suppliers and has a well-stocked inventory. Its extensive inventory allows it the flexibility to meet the needs its customers. Out-of-stock components are also available quickly. The company strives provide clients with high-quality products at competitive rates.
JameyJordan Series single artist roll
Jamey Jordan Series single artwork rolls have many benefits. First, it offers flexibility. The nylon bottom dies on the upper art roll make it easier and more flexible than a standard single-art roll. The lower art roll is made of nylon while the upper art roll has stainless steel construction. Each type of art roll is used for different purposes. The Jamey Jordan Signature Series bead roller is an excellent choice for anyone new to bead rolling.
The Jamey Jordan Signature Series single art roll step kit offers durability and versatility. The kit includes both a Friday tour and Saturday class with dinner. It is designed to be used for custom fabrication. You can ask the company for a demonstration if there are any doubts. The company will be glad to demonstrate the tool to you. The class is approximately 1000 for each participant. Alternatively, you could visit the Mittler Brothers showroom. They will give you a video tutorial to show you how the tools work.
FAQ
Where can I purchase hardwood lumber?
You can buy hardwood lumber at Home Depot. They carry a variety of wood products such as flooring, cabinets, and furniture.
There is also a wide selection of engineered hardwoods, including Ipe (Araucaria Angustifolia), Brazilian Cherry(Pau d'Arco), Mahogany (Swietenia Mcrophylla).
You can search Google for hardwood lumber to find them online.
Can I refinish furniture that I make?
Yes! Yes! There are many methods to refinish antique furniture without hiring a professional. Here are a few suggestions:
Use sandpaper for removing stains and scratches. Then wipe down the surface with a clean cloth.
Apply clear polyurethane finish. Allow to dry thoroughly before moving furniture.
Use acrylic paint to paint furniture.
Stain can be used instead of paint. The furniture will get a rich look with the stain.
Use shellac wax. Wax will protect the wood and add shine.
Do you know anything more about woodworking?
It's easy to underestimate the amount of work involved in making furniture. Finding the right type of wood is the most difficult aspect of this process. It is difficult to choose between the various types of wood.
A problem is that wood doesn't have the same properties. Some woods will crack or warp with time. Others will split or crack. You must take these things into consideration before purchasing wood.
How do you know which tools are the best for you?
It's important to consider your preferences and needs when buying tools. Do you prefer metal or plastic handles? What size are you most comfortable using for screws and nails? Are you comfortable with power tools, or would you rather use hand tools?
Statistics
- Woodworkers on the lower end of that spectrum, the bottom 10% to be exact, make roughly $24,000 a year, while the top 10% makes $108,000. (zippia.com)
- Most woodworkers agree that lumber moisture needs to be under 10% for building furniture. (woodandshop.com)
- Overall employment of woodworkers is projected to grow 8 percent from 2020 to 2030, about as fast as the average for all occupations. (bls.gov)
- The best-paid 10 percent make $76,000, while the lowest-paid 10 percent make $34,000. (zippia.com)
External Links
How To
How to make wood joints
This tutorial will show how to join 2 pieces of wood together. We'll use the "pocket hole joint," which means we drill holes in the wood and then glue them together. If your wood is straight and flat, this method will work well. If your wood isn't straight or flat, you might want to try another method, such as dowel joinery. Here are the steps
-
Drill Pocket Hole Joints. First, measure the area where you wish to place the pocket joint. Next, drill 3/4 inch holes in each end of each piece using a handheld drilling machine or jigsaw.
-
Sand Smooth. Sanding the edges of the wood will help to prevent the joint from splitting later.
-
Glue Together. Apply glue to both the ends of the wood. Let it sit for about 5 minutes before clamping the pieces together.
-
Connect the pieces. Once the glue has dried, clamp the pieces together so they are flush.
-
Trim Joinery. Trimming the joinery after glue has completely dried.
Allow enough space between pieces so you can turn them inside out.